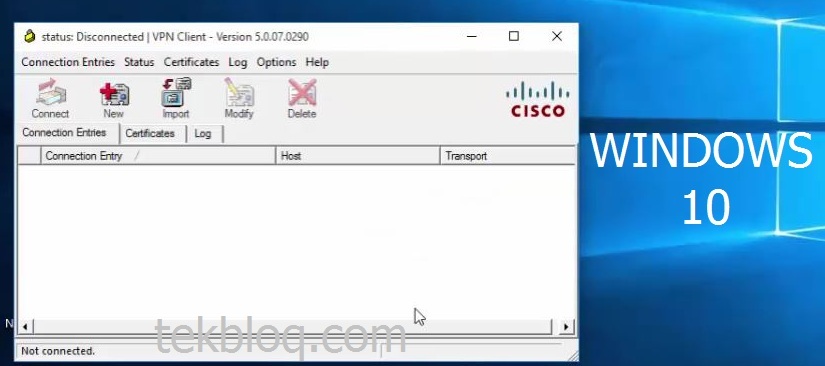
Install Cisco VPN Client on Windows 10

To install Cisco VPN Client on Windows 10 a little bit different. Today we will look at installing Cisco VPN Client on Windows 10.
Please follow steps below :
1. Download Sonic VPN software from this link and install the Sonic VPN software to computer.
2.Reboot your computer
3. After that download Cisco VPN Client software from this link and install 32-bit or 64-bit the Cisco VPN Client software. I would recommend that you run the vpnclient_setup.MSI file.
4. now we need to make some changes on registry:
- Open Registry editor regedit in Run prompt
- Navigate to the Registry Key HKEY_LOCAL_MACHINE\SYSTEM\CurrentControlSet\Services\CVirtA
- Select the Display Name to modify, and remove the leading characters from the value data value as shown below:
– For x86 machine, the string “@oem8.inf,%CVirtA_Desc%;Cisco Systems VPN Adapter” to just “Cisco Systems VPN Adapter”
– For x64 machine, the string ”@oem8.inf,%CVirtA_Desc%;Cisco Systems VPN Adapter for 64-bit Windows” to just “ Cisco Systems VPN Adapter for 64-bit Windows”
5. Reboot your computer and your cisco vpn client will be run successfully.

No comments:
Post a Comment