How to change default lock screen image in Windows 10
In Windows 10, the lock screen image is shown in a number of cases. For instance, if you locked your user session using Win+L or by clicking the user image in the Start Menu, the lock screen image will appear and show the image which is set in your Settings -> Personalization -> Lock screen. But if you sign out or the screen is locked at the user list screen, then Windows 10 shows another image. This is the default lock screen. So, there are two completely separate lock screens in Windows 10. Here is how you can set the default lock screen image in Windows 10.
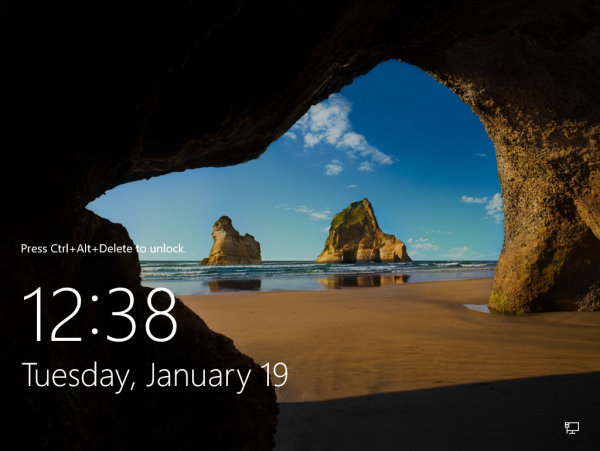
When you sign out from your Windows 10 user session, after one minute the default Lock screen image appears. If you enable the Ctrl + Alt + Del sign in requirement, it will appear instantly.
Here is how the lock screen image for my user account looks like:
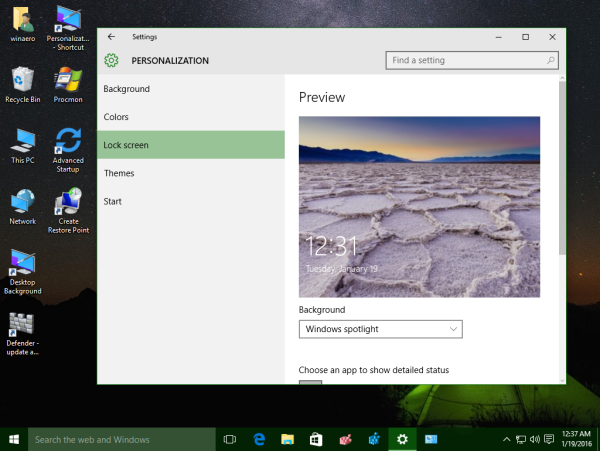
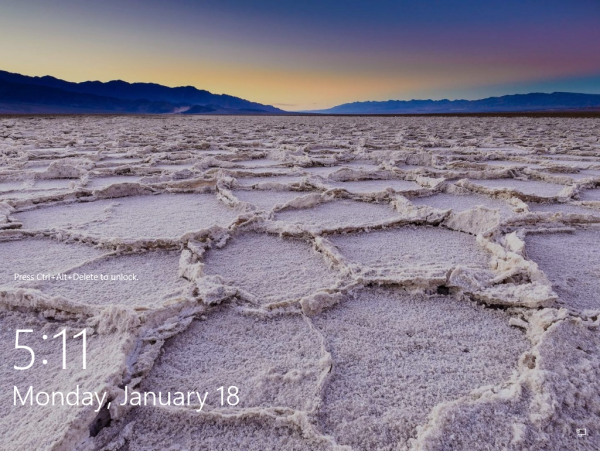
As you can see from the screenshots above, they are two different images.
Unlike the per-user lock screen image, the default one cannot be changed using the Settings app. Here is how to change default lock screen image in Windows 10.
It can be done with a simple Registry tweak. Just do the following.
- Open Registry Editor
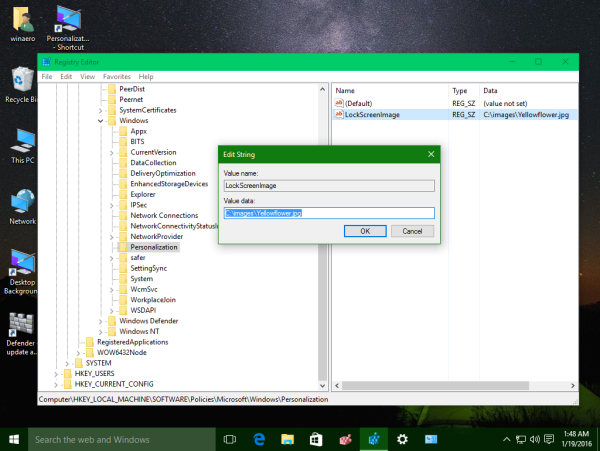
- Go to the following key:
HKEY_LOCAL_MACHINE\SOFTWARE\Policies\Microsoft\Windows\Personalization
Tip: How to jump to the desired registry key with one click.
If you have no such key, then just create it.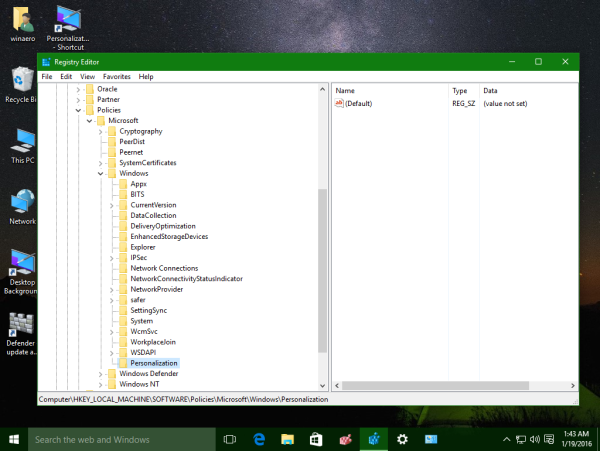
- Create a new string value named LockScreenImage.
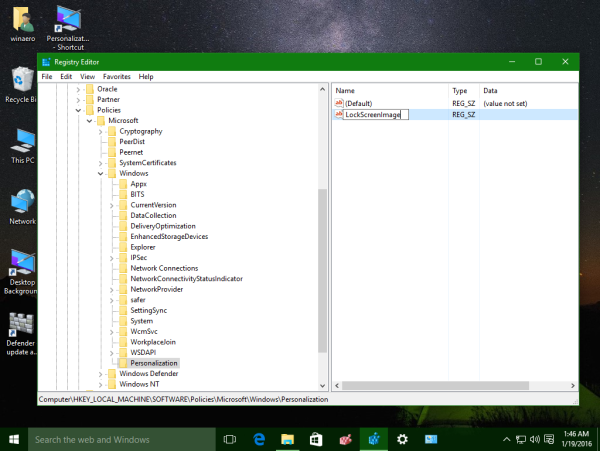 Set its value data to the full path of the desired image which will be used as the lock screen image:

No comments:
Post a Comment